
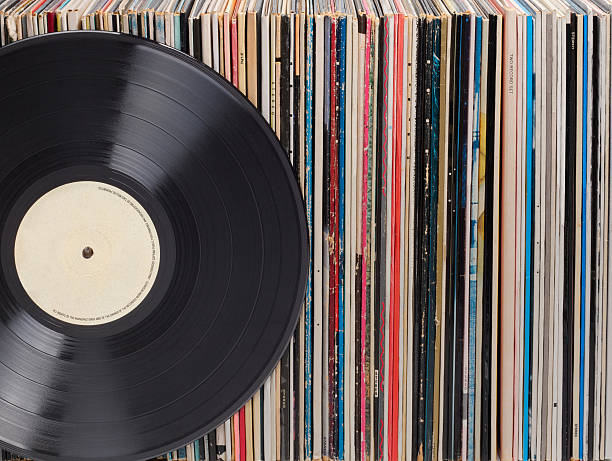
The resurgence of vinyl records in recent years has led to an increased interest in maintaining and preserving the quality of these timeless audio treasures. One of the most effective methods for cleaning vinyl records is with an ultrasonic cleaner, specifically the Omegasonics ultrasonic cleaner. In this comprehensive guide, we will explore the benefits of cleaning vinyl records with an Omegasonics ultrasonic cleaner, the process of ultrasonic cleaning, and various tips and tricks to get the best results for your precious vinyl collection.
Introduction to Ultrasonic Cleaning
Ultrasonic cleaning is a process that uses high-frequency sound waves to create microscopic bubbles in a liquid solution. These bubbles implode upon contact with the surface of the object being cleaned, effectively removing dirt, dust, and other contaminants. Ultrasonic cleaning is a powerful and efficient method for cleaning a wide variety of items, including delicate and intricate objects like vinyl records.
Omegasonics Ultrasonic Cleaners: The Best on the Market
Among the numerous ultrasonic cleaners available, Omegasonics ultrasonic cleaners stand out as the best option for cleaning vinyl records. These high-quality cleaners are designed to provide precise and thorough cleaning while ensuring the safety of your valuable records. With a range of models and sizes to choose from, Omegasonics cleaners offer a variety of features and capabilities to suit the needs of any vinyl enthusiast.
The Benefits of Cleaning Vinyl Records with an Omegasonics Ultrasonic Cleaner
There are several advantages to cleaning vinyl records with an ultrasonic cleaner, some of which include:
- Improved Sound Quality
Cleaning vinyl records with an ultrasonic cleaner can significantly improve sound quality by removing dirt, dust, and other contaminants from the grooves. This results in a clearer, more vibrant sound that allows you to enjoy your favorite tunes as they were meant to be heard.
- Preservation of Vinyl Record Value
Properly maintaining and cleaning your vinyl records can help preserve their value, especially for rare or collectible items. An ultrasonic cleaner effectively removes contaminants without causing damage to the record, ensuring that your collection remains in pristine condition.
- Increased Stylus Life
Regularly cleaning your vinyl records with an ultrasonic cleaner can help extend the life of your stylus by reducing the amount of dirt and debris it comes into contact with during playback. This can save you money on stylus replacements and ensure that your records continue to sound their best.
- Safe and Gentle Cleaning Process
Unlike manual cleaning methods that involve scrubbing or brushing the record surface, ultrasonic cleaning is a gentle process that does not cause damage to the delicate grooves of your vinyl records. The Omegasonics ultrasonic cleaner provides a safe and effective way to clean your records without the risk of harming them.
The Ultrasonic Cleaning Process for Vinyl Records
Cleaning vinyl records with an ultrasonic cleaner involves several steps, as outlined below:
- Preparing the Cleaning Solution
The first step in the ultrasonic cleaning process is to prepare the cleaning solution. For cleaning vinyl records, a mixture of RO or distilled water and a non acidic cleaning solution such as Aquaclean LPH, Omegasmoke or a specialized vinyl record cleaning solution, is recommended. This combination helps to break down and remove contaminants from the record grooves effectively.
- Setting Up the Omegasonics Ultrasonic Cleaner
Next, you need to set up your Omegasonics ultrasonic cleaner by filling the tank with the prepared cleaning solution and ensuring that the unit is properly plugged in and switched on. Make sure to consult the manufacturer’s instructions for your specific cleaner model to ensure proper setup and operation.
- Mounting and Positioning the Vinyl Records
To clean your vinyl records with an ultrasonic cleaner, you will need to hand hold the records, a record holder or spindle to keep the records in place during the cleaning process. This holder should be designed to accommodate the size and format of your records while protecting the labels from the cleaning solution. Position the records in the holder, ensuring that they are evenly spaced and fully submerged in the cleaning solution. This is to prevent the label from being removed during the cleaning process.
- Running the Ultrasonic Cleaning Cycle
Once your records are properly mounted and positioned, set the ultrasonic cleaner’s timer and frequency according to the manufacturer’s recommendations. Typically, a cleaning cycle of 1-3 minutes at a frequency of 40kHz is recommended for cleaning vinyl records. Clean at 60 second cycle times. Clean vinyl records at 130 degrees Fahrenheit, do not exceed 135 degrees due to vinyl starts to warp at 140 degrees.
- Rinsing and Drying the Records
After the cleaning cycle is complete, carefully remove the records from the ultrasonic cleaner and rinse them with distilled or RO water to remove any remaining cleaning solution. Allow the records to air-dry in a rack or use a specialized record drying system to ensure that all moisture is removed before storing or playing the records.
Tips for Successful Ultrasonic Record Cleaning
To get the best results when cleaning vinyl records with an ultrasonic cleaner, consider the following tips:
- Use Distilled or Reverse Osmosis Water
Always use distilled water and a high-quality surfactant in your cleaning solution to ensure effective and safe cleaning of your vinyl records. Tap water and other types of water may contain minerals or contaminants that can damage your records or leave residue in the grooves.
- Keep the Cleaning Solution Clean
Regularly change the cleaning solution in your Omegasonics ultrasonic cleaner to maintain its effectiveness and prevent contamination. Keeping the solution clean will also help to extend the life of your cleaner.
- Monitor the Cleaning Process
While the ultrasonic cleaning process is generally safe and gentle, it is essential to monitor the cleaning cycle to ensure that your records are not being damaged. Watch for any signs of warping, discoloration, or other issues that may indicate a problem with the cleaning process.
- Keep Labels Protected
Hand hold or when mounting and positioning your records in the ultrasonic cleaner, make sure to protect the labels from the cleaning solution. Many record holders or spindles are designed to shield the labels from the liquid, ensuring that they remain in good condition.
- Follow Manufacturer Instructions
Always consult the manufacturer’s instructions for your specific Omegasonics ultrasonic cleaner model to ensure proper setup, operation, and maintenance. Following these guidelines will help to ensure the best results and the longevity of your cleaner.
Conclusion
Cleaning vinyl records with an ultrasonic cleaner is an efficient and effective way to maintain and preserve the quality of your vinyl collection. With the right cleaning solution, proper setup, and attention to detail, you can enjoy the numerous benefits of ultrasonic cleaning without the risk of damaging your treasured records. By following the tips and steps outlined in this guide, you can confidently clean and care for your vinyl records with an Omegasonics ultrasonic cleaner, ensuring that they continue to sound their best for years to come.